Kubernetes & Gitlab + Webpack VueJS — deploy your app completely
Introduction
Kubernetes (k8s) is a portable, extensible, platform for managing containerized workloads and services, that facilitates both declarative configuration and automation. It provides exposing container, load balancing, volume storage, auto rollouts and rollbacks, distributes physical resources, self-healing and protects all your configuration. Kubernetes aims to microservices, itself not monolithic, default solutions are optional and pluggable. It also aims to support stateless, stateful, and data-processing workloads.
In this post, we will aim to deploy a Vuejs application very QUICKLY using Gitlab and Kubernetes. For more professional, you can using some tools like Helm (k8s package manager), Vault by HashiCorp (to protect sensitive data) and Prometheus — a monitoring and alerting toolkit. OK, let’s in.
Prerequisite
- Yarn as package manager (You may use npm, as well)
- Setup a kubernetes cluster on your infrastructure (Read this doc or using cloud service like GKE or EKS). Save the .kubeconfig file, it’s used to authenticate with kubernetes API server.
- A gitlab repository
- kubectl
Flow
- Init base source code
- Containerize your app into an image
- Save the image on Registry
- Apply the image (with config) to k8s
- Auto with CI
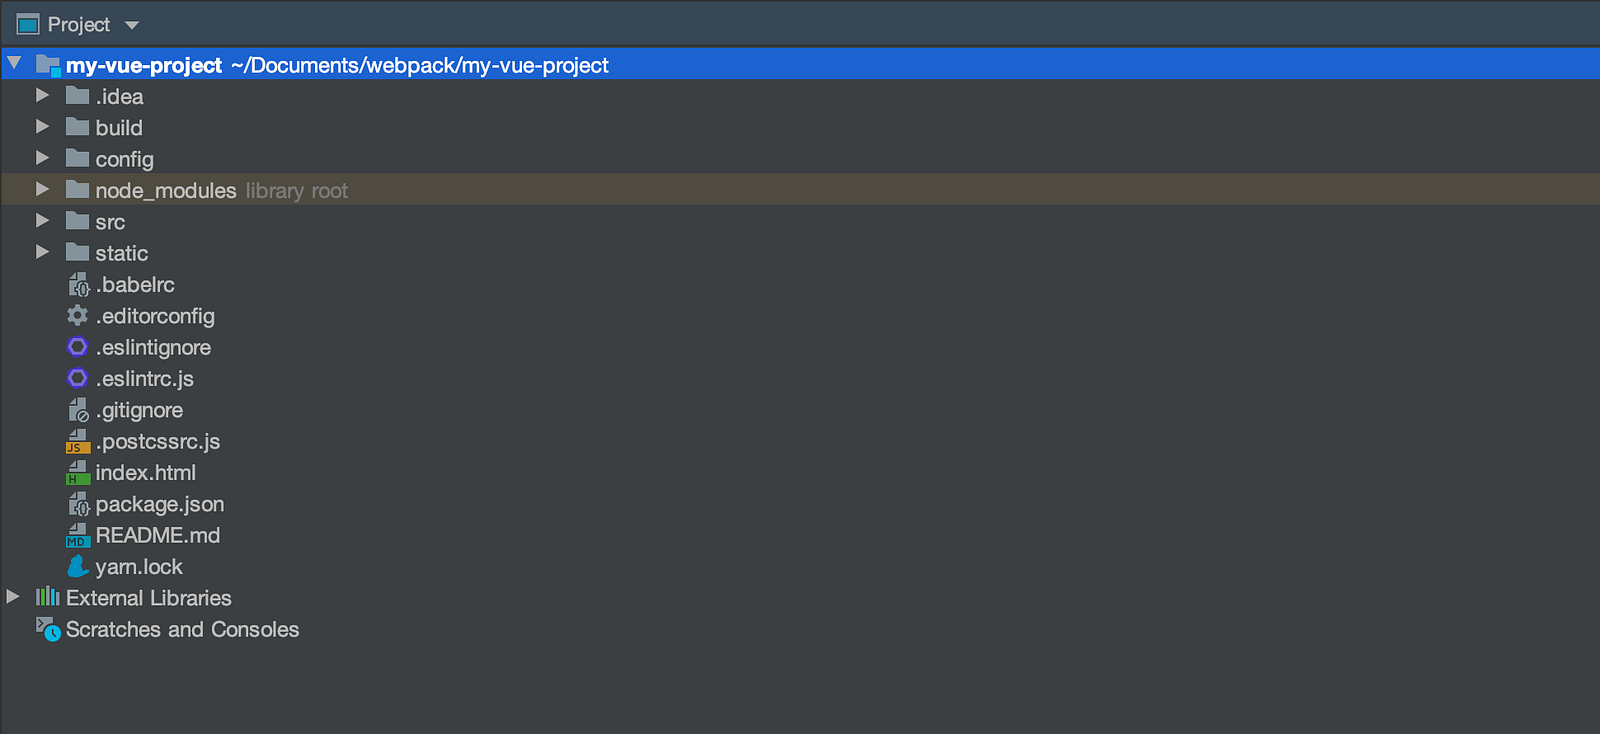
- Let’s start by creating code’s structure:
$ yarn global add vue-cli
$ vue init webpack my-vue-project
The structure will look like this:
2. And then, add Dockerfile:
FROM node:lts-alpine3.11
COPY . /opt/my-vue-project
WORKDIR /opt/my-vue-project
CMD ["yarn", "start"]
NO! Don’t do that. When run locally, webpack reads your config and serves your app at port 8080. In depth, browsers only understand Javascript code so all the Javascript Framework support to generate static files (include HTML, CSS, JS). You just need to serve this static files by Nginx. The container will lightweight and simple like this:
FROM nginx:1.19-alpine
# Run 'yarn build' to see the dist
COPY /dist /usr/share/nginx/html
CMD [ "nginx", "-g", "daemon off;" ]
3. Next step, create some .yaml files. It’s is a parameter send to k8s API server. Server will use resources and setting all up as your config. It pulls image that created above from Gitlab container registry using imagePullSecrets. I’ll show you how to create secret to authenticate with Gitlab.
$ kubectl -n YOUR_NAMESPACE
create secret docker-registry YOUR_SECRET_NAME
--docker-server=YOUR_GITLAB_SERVER
--docker-username=DEPLOY_TOKEN_USERNAME
--docker-password=DEPLOY_TOKEN_PASSWORD
--docker-email=YOUR_EMAIL
// deploy token can be created in Gitlab settings. I'll show you later
Add secret you have just created (YOUR_SECRET_NAME) in .yaml below under imagePullSecrets. To run a web application, we need to use 2 resources: Deployment and Service. Let’s specify some concepts:
- Pod: Pod is the basic execution unit of a Kubernetes application — the smallest and simplest unit in the Kubernetes object model that you create or deploy. A Pod represents processes running on cluster. It is a group of one or more container (one is common), with shared storage/network, and a specification for how to run the containers. Pods serve as unit of deployment, horizontal scaling, and replication. Pods are mortal, they have life cycle and can be created, managed by Deployment, StatefulSet, DaemonSet.
- Deployment: Deployment provides declarative updates for Pods. You can understand simply that Deployment controls Pods.
- Service: An abstract way to expose an application running on a set of Pods as a network service. Remember, pods are mortal. If a pod die, Deployment will create a new pod with new IP address. So, how other dependent components find out and keep track of which IP address (changed) to connect to? Service is solution.
You can read more about concept and motivation of Deployment here and Service here.
# k8s.dev.yaml
apiVersion: v1
kind: Service
metadata:
  name: my-frontend-svc
spec:
  selector:
    app: my-frontend
    tier: frontend
  ports:
    - protocol: TCP
      port: 80
      targetPort: frontend-port # max 15 characters
  type: ClusterIP
---
apiVersion: apps/v1
kind: Deployment
metadata:
  name: my-frontend
spec:
  selector:
    matchLabels: # help Deployment finds which Pods to manage
      app: my-frontend
      tier: frontend
      track: stable
  replicas: 2 # Deployment creates 2 replicated Pods
  template:
    metadata:
      labels:
        app: my-frontend
        tier: frontend
        track: stable
    spec:
      containers:
        - name: my-frontend-container
          image: "FRONTEND_IMAGE_TAG" # will be replaced later by Ci
          ports:
            - name: frontend-port
              containerPort: 80
          imagePullPolicy: Always
      imagePullSecrets:
        - name: YOUR_SECRET_NAME
To expose HTTP and HTTPS routes from outside the cluster to services within the cluster, an alternative is Ingress. You must install Ingress Controller before using Ingress. In this guide, I use Nginx Ingress Controller, to install it, follow this docs.
# k8s.ingress.dev.yaml
apiVersion: extensions/v1beta1
kind: Ingress
metadata:
  name: my-ingress
  annotations:
    kubernetes.io/ingress.class: nginx
spec:
  tls: # for https
    - hosts:
        - SOME_HOST
      secretName: my-certificate
  rules:
    - host: SOME_HOST
      http:
        paths:
          - path: /
            backend:
              serviceName: my-frontend-svc
              servicePort: 80
To create TLS Secret:
$ openssl req -x509
-nodes
-days 365
-newkey rsa:2048
-keyout KEY_FILE
-out CERT_FILE
-subj "/CN=YOUR_HOST/O=YOUR_HOST"
$ kubectl create secret tls CERT_NAME
--key KEY_FILE
--cert CERT_FILE
4. Finally, play with Gitlab
4.1. Create a Gitlab Runner:
Runner is a program that used to run your jobs you configured in .gitlab-ci.yml and send result back to Gitlab. Gitlab provides 3 types op Runners:
I highly recommend you install Runner in container using Docker image because some reasons. Imagine that your company has 2 projects building at the same time and only have 1 Runner (same environment), it’s easy for conflict. When using image, Gitlab will run 1 container per build. Please install and register Runner to your project follow this docs.
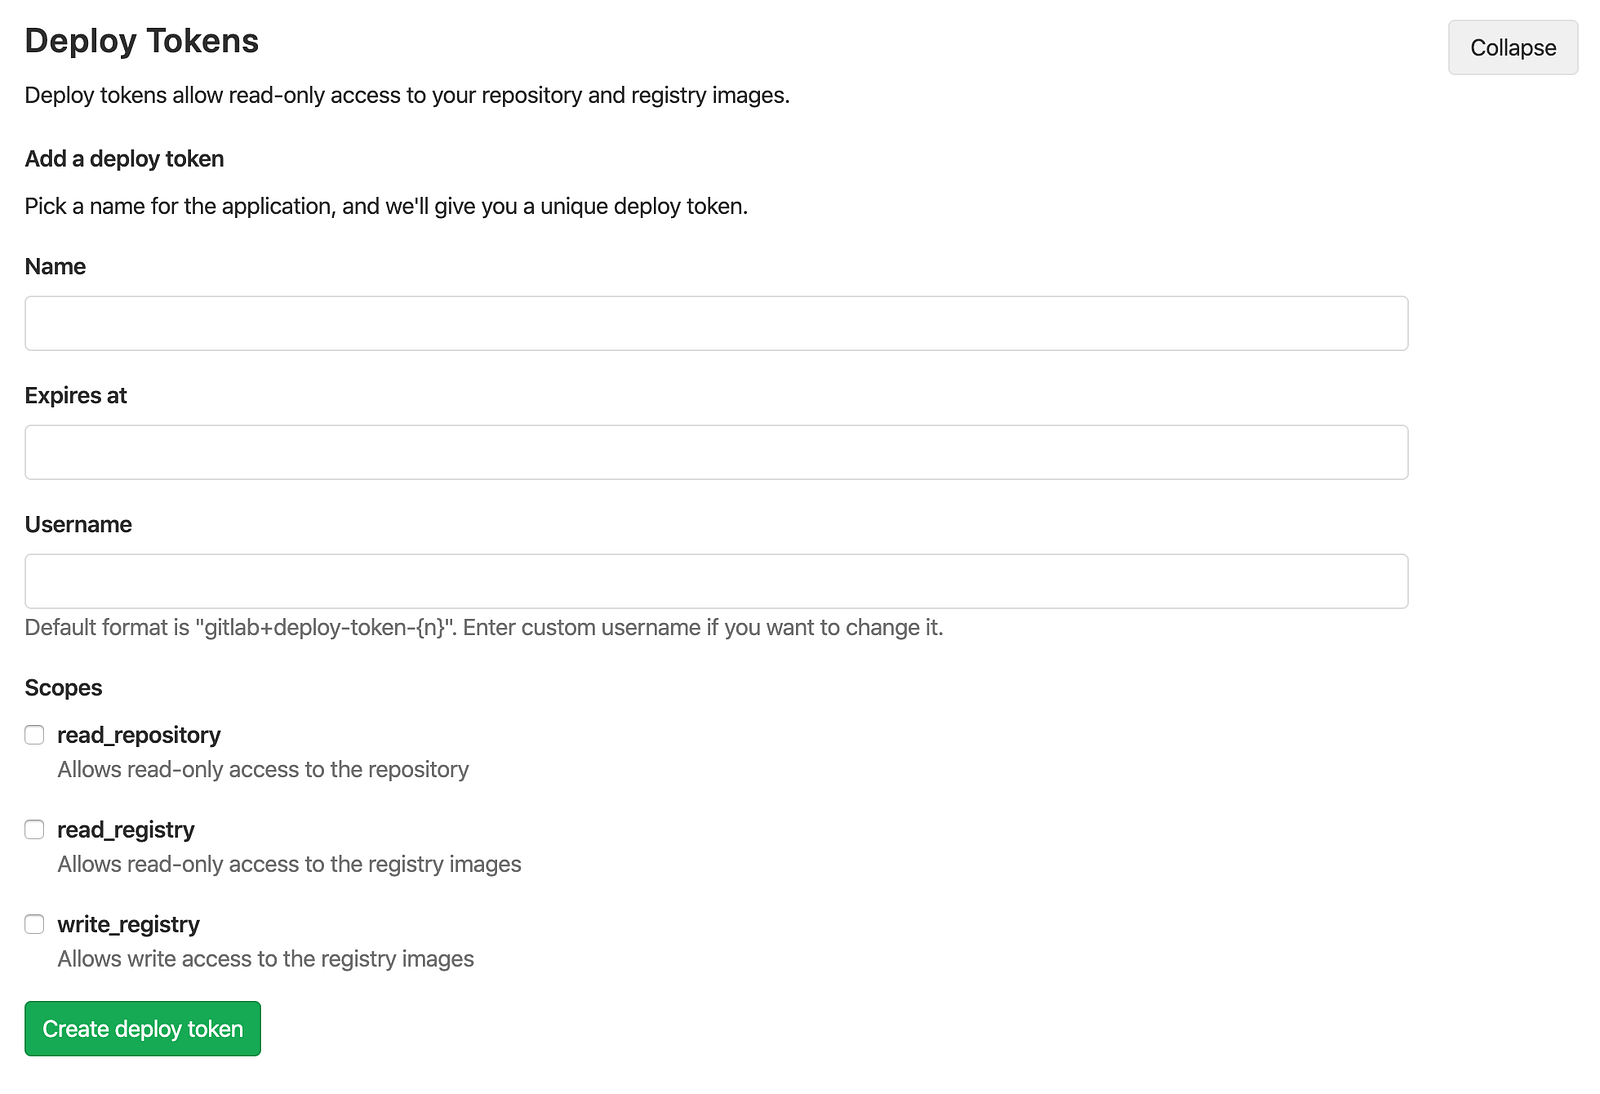
4.2. Second, create the deploy token I’ve told above:
- Log in to your GitLab account.
- Go to the project (or group) you want to create Deploy Tokens for.
- Go to Settings > Repository.
- Click on “Expand” on Deploy Tokens section.
- Choose a name, expiry date (optional), and username (optional) for the token.
- Choose the desired scopes.
- Click on Create deploy token.
- Save the deploy token somewhere safe. Once you leave or refresh the page, you won’t be able to access it again.
4.3. You almost done. Be patient. Gitlab also support custom variables. You should put secrets, sensitive data here instead of putting them in .gitlab-ci.yml. You can save .kubeconfig (base64), as well:
$ openssl base64 -in kubeconfig.txt -out output.txt
- Go to your project’s Settings > CI/CD and expand the Variables section.
- Click the Add Variable button. In the Add variable modal, fill in the details. Save it as name KUBE_CONFIG.
4.4. Complete .gitlab-ci.yml
image: node:lts-alpine3.12
stages:
  - build
  - package
  - deploy
variables:
  PACKAGE_IMAGE: docker:19.03-git
  DEPLOY_IMAGE: alpine:3.12
  KUBECTL_URL: "https://storage.googleapis.com/kubernetes-release/release/v1.12.1/bin/linux/amd64/kubectl"
  DOCKER_DIND: docker:19.03-dind

build:
  stage: build
  before_script:
    - yarn install
  script:
    - yarn build
  artifacts:
    paths:
      - dist/*
    expire_in: 3 days
  only:
    - develop

package:
  stage: package
  image: $PACKAGE_IMAGE
  services:
    - $DOCKER_DIND
  variables:
    IMAGE_TAG: $CI_REGISTRY_IMAGE:$CI_COMMIT_SHA
  before_script:
    - docker login -u gitlab-ci-token -p $CI_JOB_TOKEN $CI_REGISTRY
  script:
    - docker build -t $IMAGE_TAG .
    - docker push $IMAGE_TAG
  only:
    - develop

deploy:
  stage: deploy
  image: $DEPLOY_IMAGE
  environment:
    name: development
  services:
    - $DOCKER_DIND
  variables:
    IMAGE_TAG: $CI_REGISTRY_IMAGE:$CI_COMMIT_SHA
  before_script:
    - echo "Start deploying ..."
  script:
    - apk update && apk add --no-cache curl
    - curl -LO $KUBECTL_URL
    - chmod +x ./kubectl && mv ./kubectl /usr/local/bin/kubectl
    - mkdir -p $HOME/.kube
    - echo -n $KUBE_CONFIG | base64 -d > $HOME/.kube/config
    - sed -i "s#FRONTEND_IMAGE_TAG#$IMAGE_TAG#g" k8s.dev.yaml

    - kubectl --kubeconfig $HOME/.kube/config --namespace=YOUR_NAME_SPACE apply -f k8s.dev.yaml

    - kubectl --kubeconfig $HOME/.kube/config --namespace=YOUR_NAME_SPACE apply -f k8s.ingress.dev.yaml
  only:
    - develop
Summary
To deploy your apps completely using Kubernetes. Follow below steps:
- Know how your code run
- Containerize your apps
- Know how Kubernetes run and manage your apps
- Let CI does 3 step above automatically for you.
Source code example: https://github.com/nhatnv6/webpack-vue-k8s-gitlab-example
Refer: My medium

Xây dựng môi trường phát triển với Docker compose