Tập tành sử dụng NeoVim thay VSCode
Động lực
Xuất phát từ yêu cầu trong một buổi chia sẻ của SepGroup section về những thay đổi cải tiến (hoặc cải lùi) trong công việc, bản thân thấy nhiều anh em (Phúc là ví dụ gần nhất) sử dụng Vim rất xịn. Thế là mình cũng đua đòi, muốn thử setup một cái Vim để sử dụng hàng ngày xem thế nào. Sau một thời gian tìm hiểu mình quyết định sử dụng NeoVim thay vì Vim để trải nghiệm vì một số lý do như chị Google bảo (search Neovim vs Vim trên Google nhé).
Cài đặt và cấu hình
Đầu tiên, sử dụng brew để install NeoVim
brew install neovim
Tạo file config cho neovim ở đường dẫn .config/nvim/init.vim
Mở file config trên bằng bất cứ editor nào bạn muốn để bắt đầu config cho neovim tương tự như dưới đây (Một số settings là để cho text editor, một số settings thì cần thiết cho một số plug-in hoạt động hiệu quả).
 " Neovim config
 syntax enable
 syntax on
 set clipboard=unnamedplus " Enables the clipboard between Vim/Neovim and other applications
 set undodir=~/.config/nvim/undodir " set undotree file directory
 set undofile " set undotree to save to file
 set number relativenumber " set line number
 set nowrap " set no soft wrap
 set tabstop=2 softtabstop=2 " set tab size
 set shiftwidth=2 " affect amount of indentation
 set expandtab " set that tab will insert softabstop amount of space characters
 set nowritebackup
 set noswapfile
 set nobackup
 set breakindent
 set smartindent
 set smartcase
 set incsearch
 set hidden
 set updatetime=250
 set shortmess+=c
 set noshowmode

" open new split panes to right and below
set splitbelow
set splitright
Trong init.vim chúng ta còn có thể khai báo các plug-in để cài cắm sử dụng cùng Neovim, các config của các plugin, các keymap để đỡ phải gõ command, v.v…
Bước thứ hai, chúng ta thêm vim-plug để có thể sử dụng các plug-in cho Neovim. Các plug-in sẽ nâng tầm trải nghiệm của chúng ta với Neovim rất rất nhiều.
sh -c 'curl -fLo "${XDG_DATA_HOME:-$HOME/.local/share}"/nvim/site/autoload/plug.vim --create-dirs \
 https://raw.githubusercontent.com/junegunn/vim-plug/master/plug.vim'
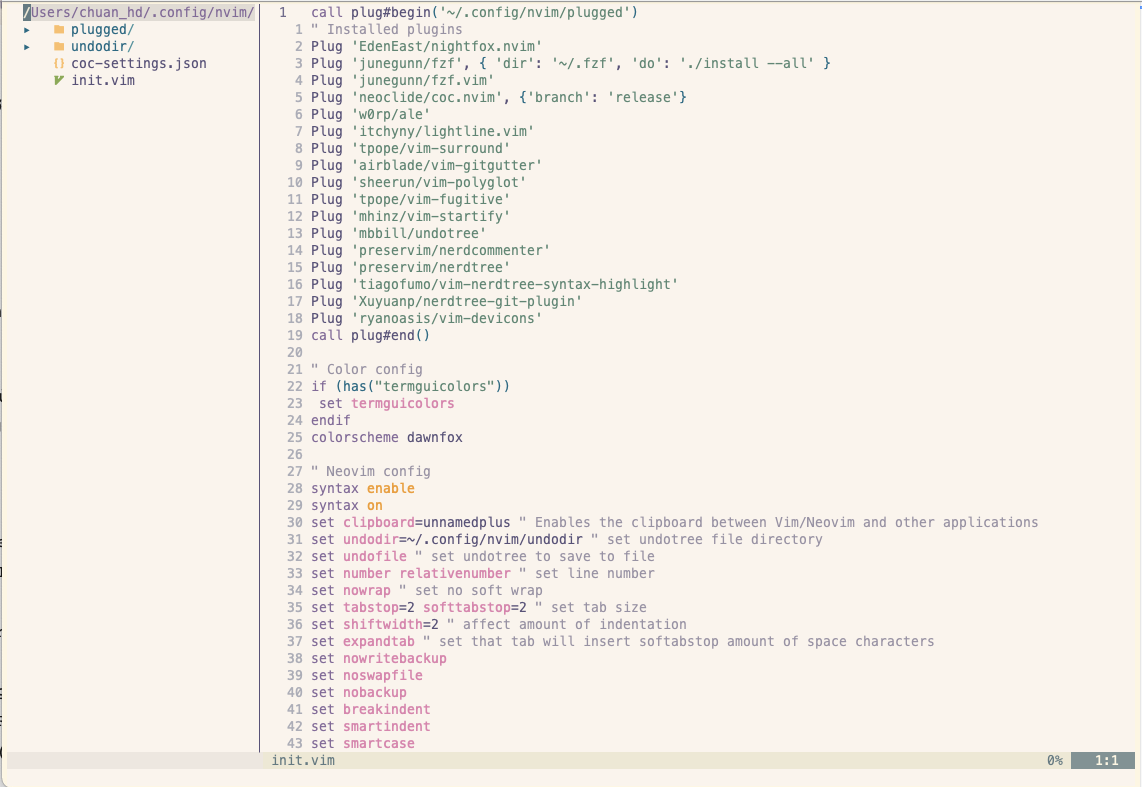
Sau khi đã cài đặt vim-plug thành công, chúng ta sẽ thêm vim-plug section vào init.vim để cài đặt các plug-in mình mong muốn. Vim-plug section bắt đầu bởi call plug#begin('~/.config/nvim/plugged') và kết thúc bởi call plug#end() như dưới đây
call plug#begin('~/.config/nvim/plugged')
" Installed plugins
Plug 'EdenEast/nightfox.nvim'
Plug 'junegunn/fzf', { 'dir': '~/.fzf', 'do': './install --all' }
Plug 'junegunn/fzf.vim'
Plug 'neoclide/coc.nvim', {'branch': 'release'}
Plug 'w0rp/ale'
Plug 'itchyny/lightline.vim'
Plug 'tpope/vim-surround'
Plug 'airblade/vim-gitgutter'
Plug 'sheerun/vim-polyglot'
Plug 'tpope/vim-fugitive'
Plug 'mhinz/vim-startify'
Plug 'mbbill/undotree'
Plug 'preservim/nerdcommenter'
Plug 'preservim/nerdtree'
Plug 'tiagofumo/vim-nerdtree-syntax-highlight'
Plug 'Xuyuanp/nerdtree-git-plugin'
Plug 'ryanoasis/vim-devicons'
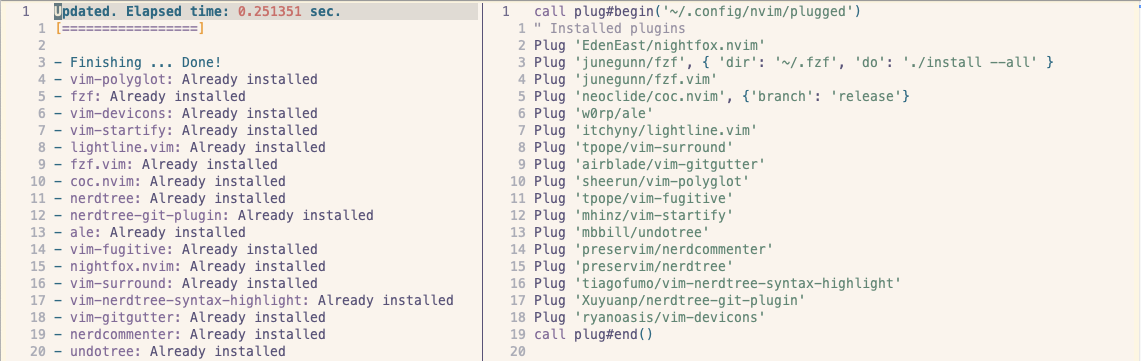
call plug#end()Sau khi save init.vim, chúng ta gõ lệnh :PlugInstall để vim-plug cài đặt các plug-in đã khai báo.
Có rất nhiều plug-in có thể được sử dụng với Neovim. Mình thấy một số plug-in thuộc dạng must-have như:
- nerdtree
- coc.nvim
Và một số plug-in phổ biến có thể làm cho trải nghiệm của bạn với NeoVim trở nên tốt hơn
- nerdcommenter
- vim-nerdtree-syntax-highlight
- vim-devicons
- undotree
- vim-fugitive
- lightline.vim
- fzf
NERDTree
NerdTree là một plug-in cho phép chúng ta mở một file/folder browser trong Vim để có thể tương tác với file, folder trong workspace của mình. NerdTree cho phép chúng ta browser, open file, tạo file mới, vân vân mây qua command hoặc key shortcut.
Bạn có thể tham khảo Github của NerdTree để hiểu rõ hơn về cách config và sử dụng NerdTree. Dưới đây là config mình đang sử dụng với NerdTree kết hợp với một số plug-in khác để bổ sung một số thứ hay ho như nerdtree-git-plugin, vim-devicons, nerdcommenter,…
" NERDTree
let g:NERDTreeShowHidden = 1
let g:NERDTreeMinimalUI = 1 " hide helper
let g:NERDTreeIgnore = ['^node_modules$'] " ignore node_modules to increase load speed
let g:NERDTreeStatusline = '' " set to empty to use lightline
" " Toggle
noremap <silent> <C-b> :NERDTreeToggle<CR>
" " Close window if NERDTree is the last one
autocmd BufEnter * if (winnr("$") == 1 && exists("b:NERDTree") && b:NERDTree.isTabTree()) | q | endif

" NERDTree Syntax Highlight
" " Enables folder icon highlighting using exact match
let g:NERDTreeHighlightFolders = 1
" " Highlights the folder name
let g:NERDTreeHighlightFoldersFullName = 1
" " Color customization
let s:brown = "905532"
let s:aqua =  "3AFFDB"
let s:blue = "689FB6"
let s:darkBlue = "44788E"
let s:purple = "834F79"
let s:lightPurple = "834F79"
let s:red = "AE403F"
let s:beige = "F5C06F"
let s:yellow = "F09F17"
let s:orange = "D4843E"
let s:darkOrange = "F16529"
let s:pink = "CB6F6F"
let s:salmon = "EE6E73"
let s:green = "8FAA54"
let s:lightGreen = "31B53E"
let s:white = "FFFFFF"
let s:rspec_red = 'FE405F'
let s:git_orange = 'F54D27'
" " This line is needed to avoid error
let g:NERDTreeExtensionHighlightColor = {}
" " Sets the color of css files to blue
let g:NERDTreeExtensionHighlightColor['css'] = s:blue
" " This line is needed to avoid error
let g:NERDTreeExactMatchHighlightColor = {}
" " Sets the color for .gitignore files
let g:NERDTreeExactMatchHighlightColor['.gitignore'] = s:git_orange
" " This line is needed to avoid error
let g:NERDTreePatternMatchHighlightColor = {}
" " Sets the color for files ending with _spec.rb
let g:NERDTreePatternMatchHighlightColor['.*_spec\.rb$'] = s:rspec_red
" " Sets the color for folders that did not match any rule
let g:WebDevIconsDefaultFolderSymbolColor = s:beige
" " Sets the color for files that did not match any rule
let g:WebDevIconsDefaultFileSymbolColor = s:blue

" NERDTree Git Plugin
let g:NERDTreeGitStatusIndicatorMapCustom = {
    \ "Modified"  : "✹",
    \ "Staged"    : "✚",
    \ "Untracked" : "✭",
    \ "Renamed"   : "➜",
    \ "Unmerged"  : "═",
    \ "Deleted"   : "✖",
    \ "Dirty"     : "✗",
    \ "Clean"     : "✔︎",
    \ 'Ignored'   : '☒',
    \ "Unknown"   : "?"
    \ }

" Nerd Commenter
" " Use compact syntax for prettified multi-line comments
let g:NERDCompactSexyComs = 1
" " Allow commenting and inverting empty lines (useful when commenting a region)
let g:NERDCommentEmptyLines = 1
" " Enable trimming of trailing whitespace when uncommenting
let g:NERDTrimTrailingWhitespace = 1
" " Enable NERDCommenterToggle to check all selected lines is commented or not
let g:NERDToggleCheckAllLines = 1
" " Add spaces after comment delimiters by default
let g:NERDSpaceDelims = 1
" " Map ++ to call NERD Commenter and use iTerm key bindings
" " to bind Ctmd+/ to ++
vmap ++ <plug>NERDCommenterToggle
nmap ++ <plug>NERDCommenterToggle
coc.nvim
coc.nvim là một plug-in hỗ trợ code completion, LSP, linter…. Coc.nvim sẽ giúp cho Neovim của bạn xịn không kém gì VSCode (đấy là người ta bảo thế :v ).
Sau khi cài coc.nvim qua vim-plug thì chúng ta sẽ cần cài thêm coc extension. Mục đích của mình là dùng cho dự án Typescript và Python nên mình sẽ install coc-tsserver và coc-pyright. Bên cạnh đó thì mình cũng install coc-eslint và coc-prettier để dùng y như VSCode.
" COC
" " COC extension
let g:coc_user_config = {}
let g:coc_global_extensions = [
      \ 'coc-json',
      \ 'coc-prettier',
      \ 'coc-tsserver',
      \ 'coc-snippets',
      \ 'coc-pyright',
      \ 'coc-eslint']
coc extensions config trong init.vim
{
  "coc.preferences.formatOnSaveFiletypes": [
    "javascript",
    "typescript",
    "typescriptreact",
    "json",
    "javascriptreact",
    "typescript.tsx"
  ],
  "eslint.filetypes": [
    "javascript",
    "typescript",
    "typescriptreact",
    "javascriptreact",
    "typescript.tsx"
  ],
  "eslint.autoFixOnSave": true,
  "coc.preferences.diagnostic.virtualText": true,
  "http.proxyStrictSSL": false
}
coc-settings.json để config các coc-extensions hoặc language server.
Sau khi setup xong coc.nvim chúng ta sẽ có được kết quả tương tự như thế này:
Sau những bước trên là đã có một cái IDE đơn giản, kết hợp với Vim cheatsheet này coi như là đủ dùng. Tất nhiên qua một thời gian thì mình đã thêm thắt khá nhiều thứ linh tinh vào (mặc dù bây giờ còn không nhớ một số thứ thêm vào dùng như thế nào :facepalm: ). Mọi người có thể tham khảo rất nhiều config neovim trên mạng.
Tạm kết
Trên đây chỉ là những bước setup khá đơn giản cho NeoVim để sử dụng như một IDE hàng ngày. Hiện tại mình coi việc sử dụng vim như một challenge nho nhỏ, tạo thêm một chút cảm hứng khi làm việc. Và buồn thay là mình vẫn chưa bỏ được VSCode, cơ mà đã cài vim-plugin cho VSCode để tập làm quen (chỗ nào khó quá thì lại dùng chuột =))). Qua bài blog này mong tìm kiếm được các cao nhân để giao lưu học hỏi vì một tương lai no-mouse-anymore.
Tham khảo
https://github.com/jdhao/nvim-config
https://medium.com/life-at-moka/step-up-your-game-with-neovim-62ba814166d7
https://github.com/rockerBOO/awesome-neovim